
Points: 1500 Points Per Player
Mission: Fighting Withdrawal
Set Up: Fighting Withdrawal
The Armies:
Chaos Daemons-
1500 Points of daemons and I am slowly getting the army up to a point where they are even more effective and nastier with each game. This time around I bring in the big guys as a Greater Daemon of Nurgle and Nurgle Daemon Prince join the ranks. Meanwhile the other units already in the army get built up a bit more and get a few useful upgrades which will come in handy.
Space Marines-
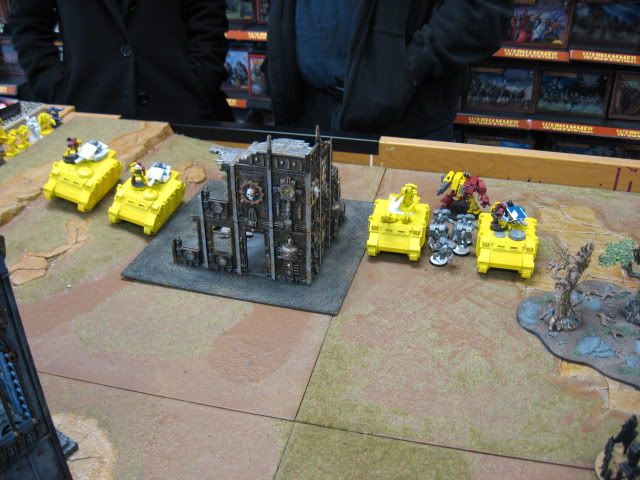
The Scions of the Ultra Marines have come knocking to my arena of combat finally. The Howling Griffons are a long time 40K lore chapter with a very colorful paint scheme. My opponent has painted up some of his army real well, and is on his way to having a very cool looking army when its all done. He has also chosen to not use any characters in our battle, so this will be fun since I don't use characters in my escalation league games either. He has chosen to fill out his two HQ choices with a Librarian and a Captain and his command squad. The Command squad is fully loaded with a banner bearer, apothecary, champion, and vets, all rolling out in a rhino. His elite choices are a 5 man squad of Sternguard veteran marines in a razorback and a dread with autocannons and a storm bolter. His troop choices are a bit light, but they come out to two 5 man marine squads in razorbacks. Finally his fast attack is a 5 man squad of Vanguard assault veteran marines. All of his razorbacks are armed with twin linked plasma guns and lascannons, a very nasty combo. The entire package is a whole lot of armor and mobility that I am a bit worried about since my daemons are not built to crack armor for the most part.
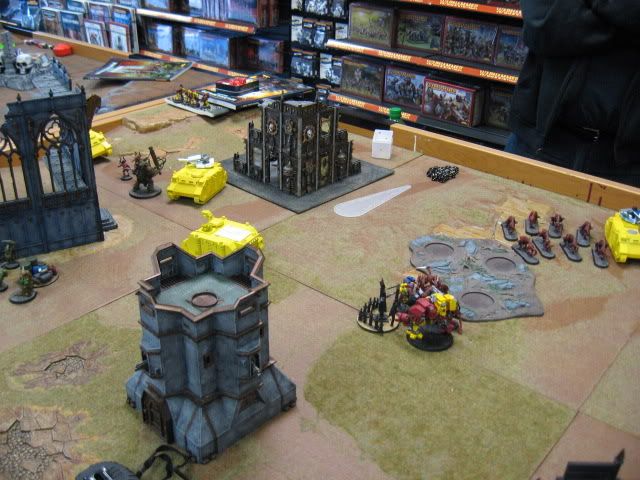
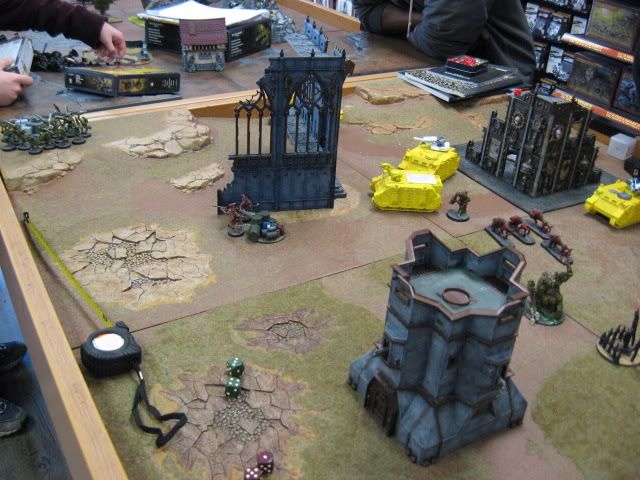
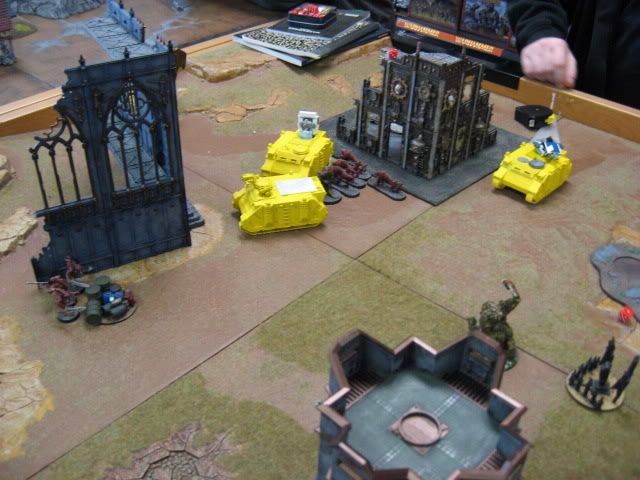
Deployment and Terrain:
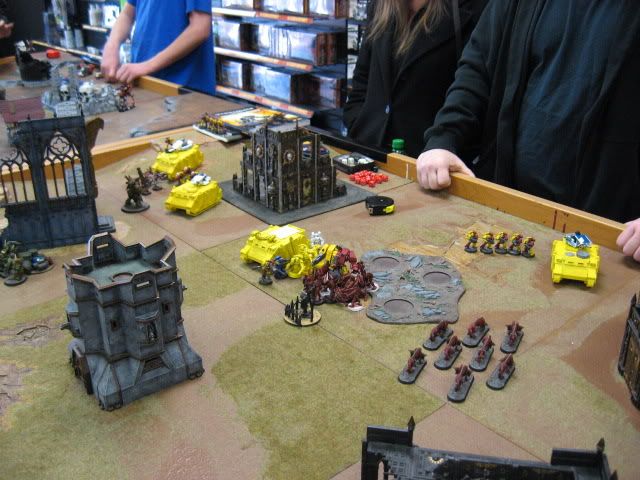
Being a special mission from the Battle Missions book, the terrain was set up by the store manager at the GW Shop for us, with 6 pieces of terrain on the table it was a bit crowded but a change for once since I'm used to playing on low terrain tables lately. The table was cut in half diagonally per the mission rules, and 3 objectives were set up, one on a table edge, one in the middle of the table, and one between these two objectives. We rolled off to see who would be attacker and defender, and I won the roll off. After reading the mission I chose to be defender this time, and set up was done. Under the mission rules the attacker does not set up anything, and comes onto the table edge from his half of the table on turn one. By being the defender I deep strike in and force him to come on from his table edge, making it harder for him to reach me on turn one, while giving me the ability to drop anywhere on the table thanks to demonic assault. While the mission states the defender may not put any units in reserve, I am daemons and the entire army is in reserve under its codex rules which always over rule mission rules. Finally the mission gives the defenders entire army the Hit & Run universal rule, which was a nasty bonus for me! I rolled to see how the gods were feeling today, the two heralds with units of Horrors and Plaguebearers for retinues, along with the 2 big guys were my choice units to drop since both heralds had icons to help deep strike. To the pleasure of the Gods, they were not on my side that day. Everything else which accounted for most of my Khorne strike force would be in first.

Turn 1
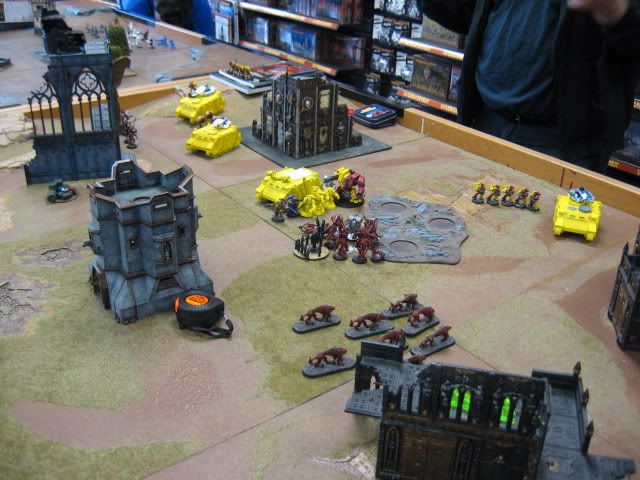
Space Marines- The Howling Griffons had no choice but to roll onto the table in force. With one troop choice each teaming up to either the Sternguard or the Command Squads. The Dread and Vanguard joined up with the command squad group and pushed forward.
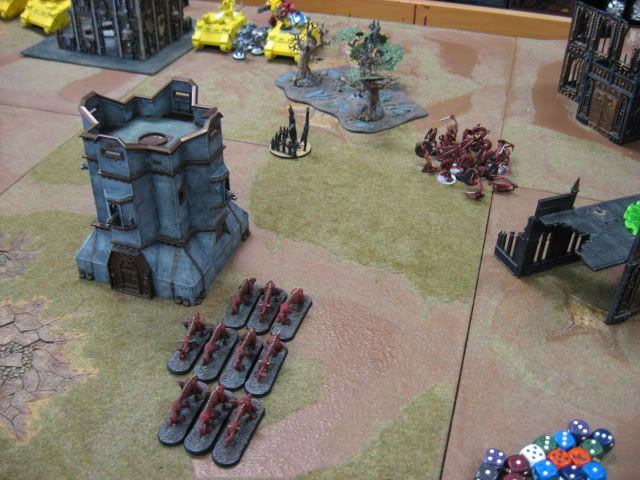
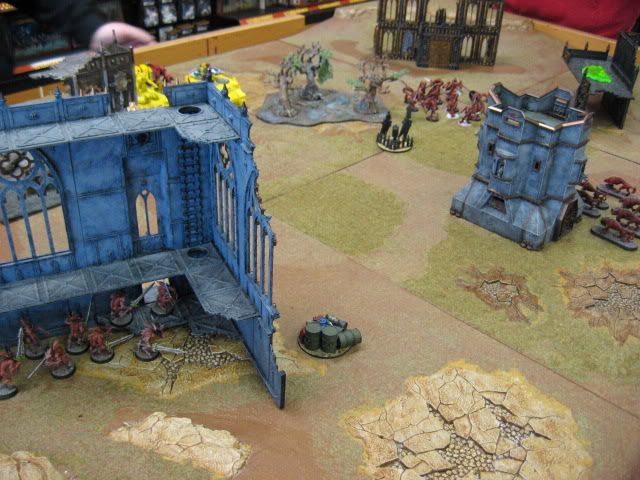
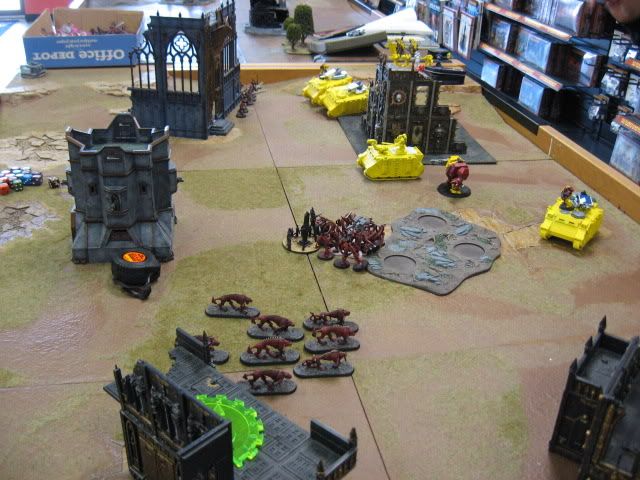
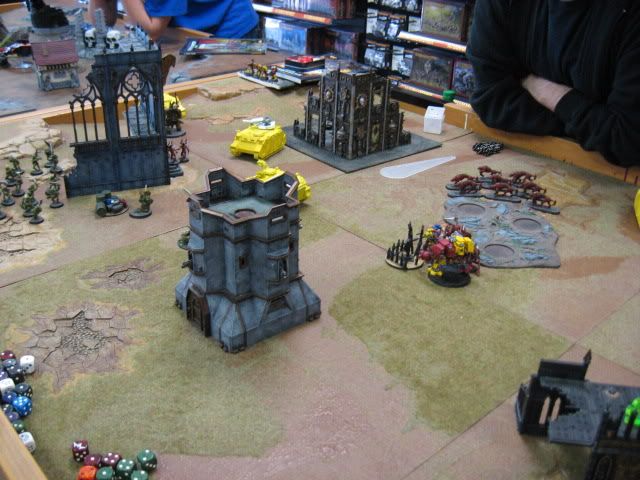
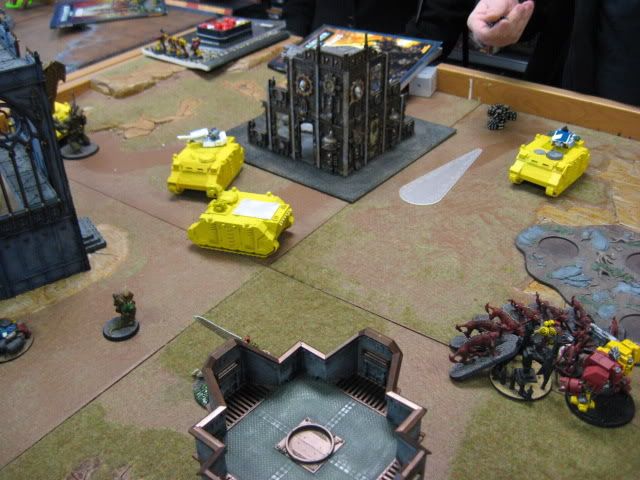
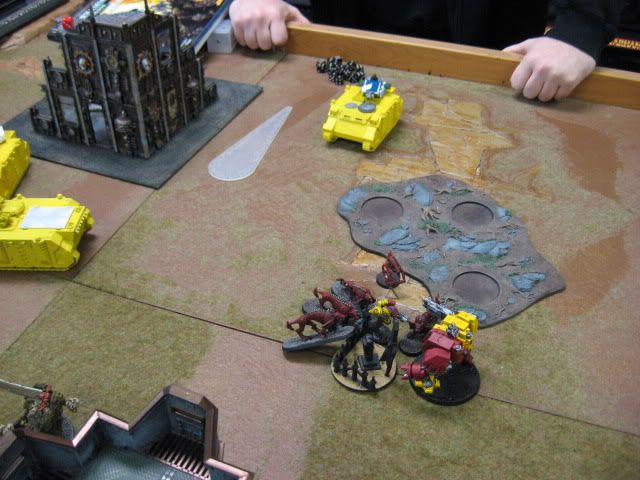
Daemons- Enter the Daemons! Since my chosen half was not allowed to enter this time, the forces of khorne make the drop in first. They are my heavy hitters when it comes to close combat so I want to hide them as much as I can while keeping them close to the marines for counter attack reasons. The hounds drop a bit off of their target but still come out ok, the smaller 10 man bloodletter unit falls on target behind a building which will give them cover saves, while the larger 16 man bloodletter squad was dropped near the middle objective. The smaller bloodletter unit has an icon so I wanted to protect them, while also holding the 2nd objective if possible. The larger bloodletter unit I placed out close to the marines for bait, to keep the marines occupied with them while the other bloodletter unit helps bring in the rest of the army. Finally the hounds were my mobile counter attack, with cavalry rules they are nasty chargers even if they are not power weapons they still throw a lot of dice on the table.
Turn 2
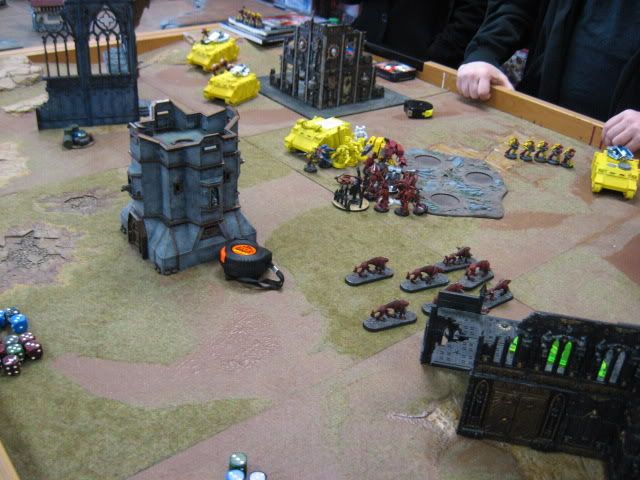
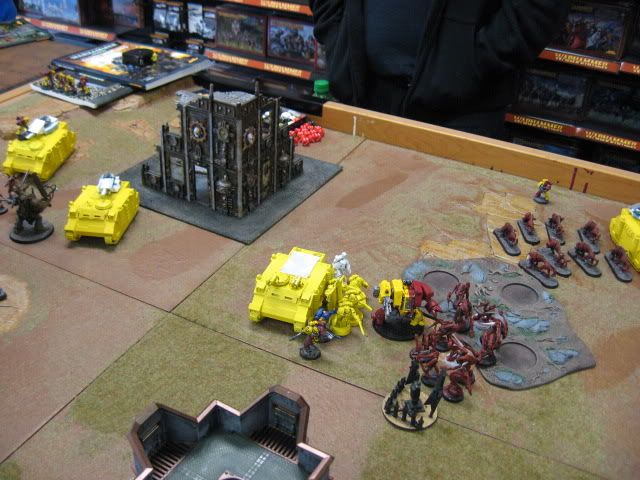
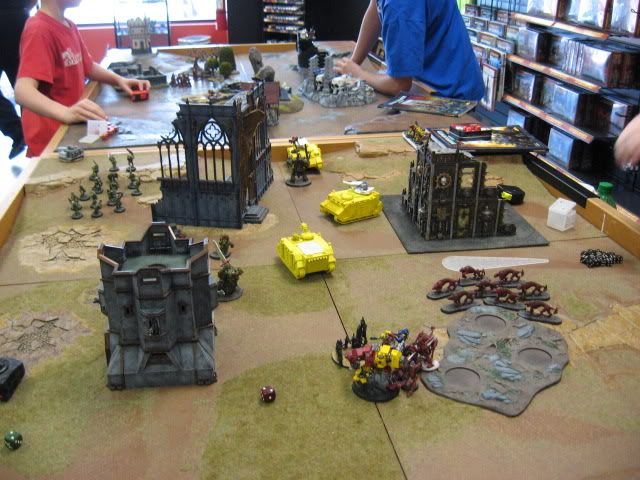
Space Marines- The Marines take a moment to check out the new enemy in the area. With the large number of khorne forces so close to the marines, they took a more aggressive stance on the larger bloodletter squad and took the bait I was counting on him to take. He detatched one troop squad to swoop in from a flank while the Vanguard came from the oppisite flank. The Sternguard also came out to play in their area but were out of range. The Vanguard took a shot at the daemons which was a bad choice since I pulled enough models to deny him the assault range for them. The other area of the marine force took shots at the smaller bloodletter unit and took down some of their number, and the razorback swooping in from the side took a shot at the flesh hounds taking some down as well.
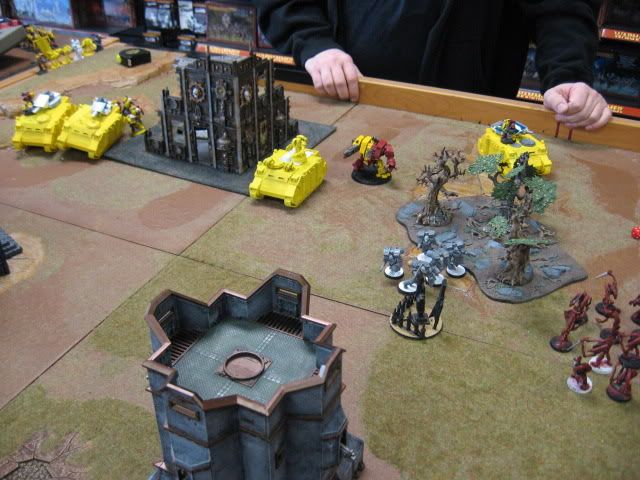

Daemons- Turn 2 begins with the horrors coming in from deep strike. I chose not to use the icon on the table and instead took a risk in trying to take down the sternguard with them by dropping behind enemy lines. BIG MISTAKE! The unit scattered into the sternguard and then they were destroyed thanks to mishap. Tzeentch has chosen to stay out of this battle with both the herald and the horrors now dead to me for the rest of the game. This didn't stop Khorne from getting his skulls today, as the bloodletters now able to move head for the vanguard squad. Meanwhile the hounds and the other bloodletter squad move out to counter the marine thrus from the flanks. Finally the center khorne unit charges into the vanguard causing a lot of damage, the resulting battle leaving one lone vanguard standing.

Turn 3
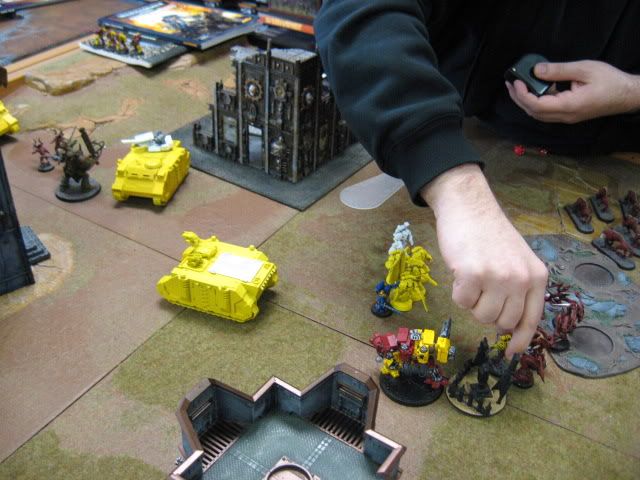
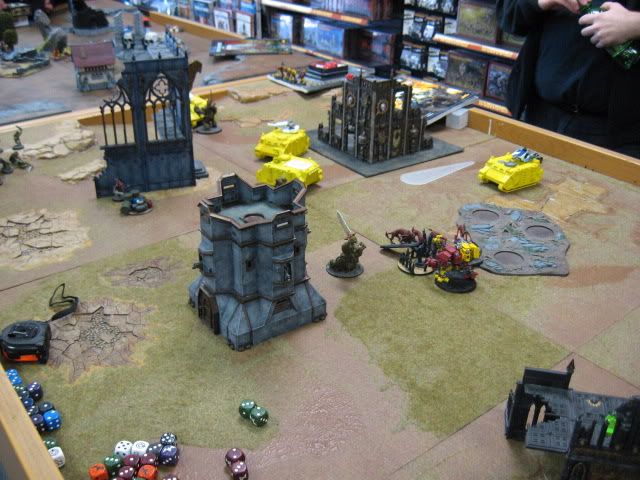
Space Marines- The marines charge into the battle! The Dread closes in to join the central combat, while the sternguard sweep in one flank trying to take down the smaller bloodletter unit, the same with the razorback in the other side while dropping his marines out to shoot. Casualties are high for the smaller bloodletter unit, but they do survive the shooting from the marines. Meanwhile the Dread charges into the meele in the middle, but does not do anything to the enemy mob, while the vanguard goes down for the count. The central close combat mess continues!
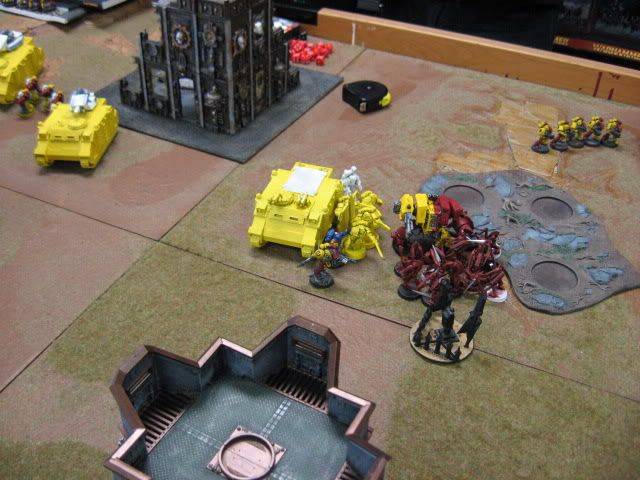
Daemons- Time to put in a call for reinforcements! Nurgle answers the call sending down a Daemon Prince and the Herald with his plaguebearers! Khorne gets a second wind as the hounds seek out the exposed marine squad and the bloodletters go after the sternguard. The flesh hounds fleet and assault the marine squad hard, causing all but one marine to die in the assault, with the last one making a run for the table edge with the hounds in hot persuit! On the other side the bloodletters thrash the sternguard to a pulp and collect the skulls for the skull throne today! In the center the dread does very little in killing bloodletters again, but the bloodletters take advantage of the hit and run rule and break the combat cycle. The arrival of nurgle means a second line of troops and heavy hitters is now ready to step in when khorne calls it a day.

Turn 4
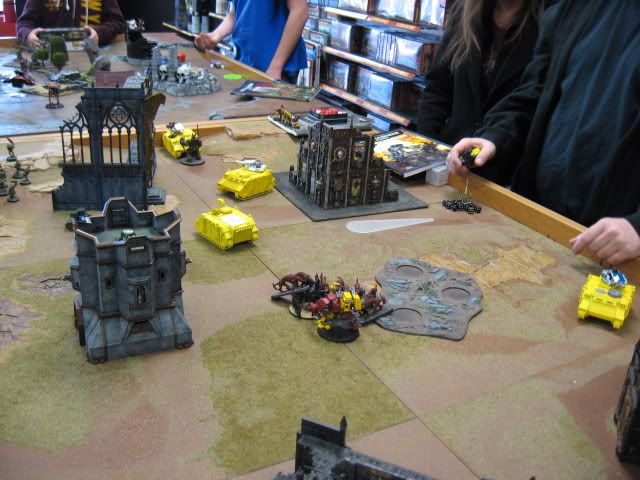
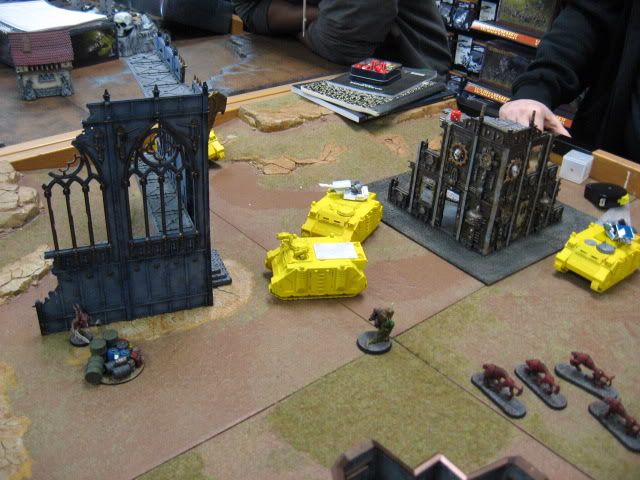
Space Marines- The marines need to turn this game around and this is the turn they need to do it in! The command squad must save the day! The razorbacks and rhinos move into position to better provide fire support. The lone marine from the squad attacked by the hounds runs off the table to fight another day. The command squad that had jumped out of a moving rhino last turn are free to move and attack this turn now. After a turn of some bad shooting the marines move in to assault. The central objective is once again the center of the action with the command squad and dread leading the charge into the bloodletter squad again. The attack is brutal and the bloodletter numbers are cut down by a good number, but khorne stays to fight another turn and claim more skulls. The marines take a heavy number of casualties for the assault as well.
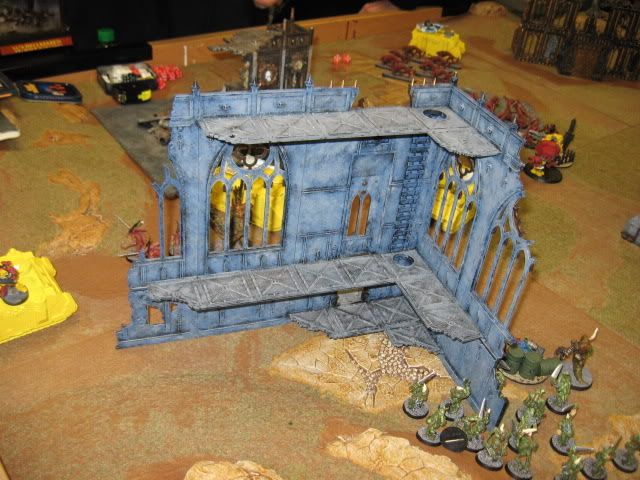
Daemons- The last actor of this drama arrives! The greater daemon of nurgle is on the scene, using the heralds icon to land the great daemon has his eye set on that dreadnought. Meanwhile the Daemon Prince is knocking around a razorback full of marines. The Plaguebearers are sent off the secure an open objective by the table edge with the herald following the greater daemon. Finally the hounds sweep around to help the bloodletters in the middle. The assaults are fast and furious! The prince is able to take out one of the weapons on the razorback. The hounds charge into the middle battle to help wound the captain while the bloodletters take out the librarian still in the fight.
Turn 5
Space Marines- The captain stands alone holding off the hoards of chaos with his sidekick dread. The armor moves around and unloads on the prince assaulting the razorback. He takes a lot of fire from the other tanks and is wounded severly. The battle in the middle continues with the captain taking another wound but dishing out some pain too. The lone bloodletter is able to break off from the attack and prepare a counter charge in the bottom of the turn.
Daemons- Time to clean up and win this game! The Greater Daemon moves closer to the battle, while the plaguebearers secure one objective, and the herald and prince make for assaulting some tanks. The Greater Daemon joins the assault in the middle and smashes the dread into a wreck on his first assault. The lone bloodletter assaults back in and along with the hounds takes down the captain in combat. The Prince is able to shake the razorback while the herald fails to do anything. The tide has now turned and it is in our favor!

Turn 6
Space Marines- In an odd turn of fate for me turn 6 is to be had in this game. Most of the time my games are over at turn 5, but this game got an extra turn of carnage. The marines are out for blood now as the troops exit the razorback and the other tanks move in to help take down the prince who falls to marine shooting. The lone razorback close to the middle takes out the last bloodletter of the big unit and that objective is now free of troops of any kind holding it. There isn't much else the marines can do this turn.
Daemons- The daemons have secured 2 objectives now, one by nurgle and one by khorne. The prince might be dead but the hounds and herald assault one more take one last time taking out its weapons and imobilizing it in the process. With this last assault the game ends in VICTORY!!!
Final Score:
Dave/Chaos Daemons: 2 Objectives
Nathan/Space Marines: 0 Objectives
Winner: Chaos Daemons
Final Thoughts: The win now brings me up to 3-2 for the league and I am now in positive territory for once. The higher the points the nastier these daemons get. I've still to acutally consider using a character which I am trying to avoid. This game was a good one and one that could have gone wrong for me since my chosen units didn't get in first. The loss of Tzeentch from this battle played almost no part in the outcome which was good to see, since the loss was hard to take when it happend. My MVP this time has to be the 16 model khorne bloodletter unit in the middle. They played the role of bait well enough that they pulled a good chunk of the marine bodies to them, and still survived the carnage. The unit was worth every point I paid for them this time.
Enjoy! :)


No comments:
Post a Comment