Thursday, March 24, 2011

Escalation League: 2K Points, Final Round!!

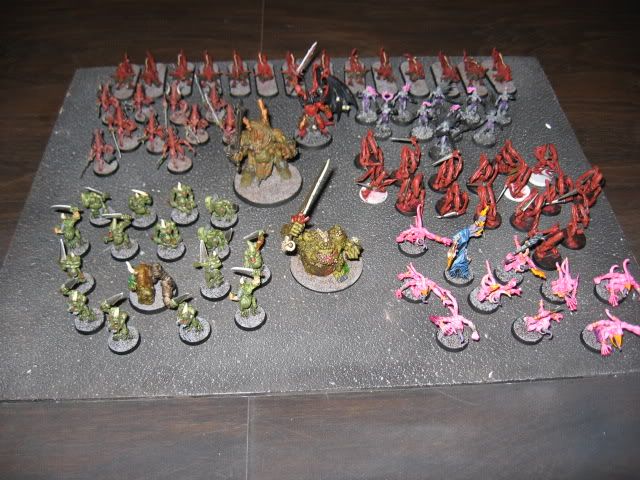
As the final round of the escalation league is about to begin, it’s time once again to up the points by 500 points and bring the army into its final version. In my mission to learn about this army, even at 2K I have averted from breaking down and adding a Special Character. I have enjoyed using the basic units available to me and when this is all over I will still have a few characters I can draw from to make this army even more effective. So now that we have reached 2K I have chosen to add 2 more units to the army and one of these units will bring in the final aspect of the chaos gods. The first new unit is a Slaanesh Daemonett unit, the last of the chaos gods to be represented in my army the daemonettes are a fast and deadly unit of close combat hitters, I have upgraded them with an icon to help bring in the other units and also to even out my number of icons in the army so both halves of my army are well covered when deepstriking. The next new unit is a Khorne Daemon Prince, the 3rd monstrous creature in the army; this guy is built for close combat terror! Oddly enough he is also armed with one of the few shooting attacks in my army, the deathstrike attack is a heavy assault attack he can make, add to that the ability to flight and he has some distance that will help him catch his enemy for assaults. In addition to the new units the other units in the army have been fleshed out a little more with more powers and abilities to make them even nastier. The tzeentch herald gained a few new powers to make it more effective, the flesh hounds are now up to my max models count that I have finished, making then a big cavalry counter attack unit. The greater daemon got an instrument upgrade, mostly because I had the spare points. The rest of the army works well enough and didn’t need any more upgrades. So all the chaos powers now have a hand in this army, we shall see how they all work together in the coming games!


Chaos Daemon Legion
Total: 1996 Points

HQ

Greater Daemon of Nurgle (+Unholy Might +Cloud +Instrument)

Herald of Tzeentch (+Icon +Bolt of Tzeentch +Master of Sorcery)
Herald of Nurgle (+Icon +Cloud +Noxious Touch)


Troops

Troop 1
10 Pink Horrors (+Bolt of Tzeentch)

Troop 2
10 Bloodletters (+Icon)

Troop 3
16 Bloodletters

Troop 4
15 Plaguebearers (+Noxious Touch)

Troop 5
10 Daemonettes (+Icon)


Fast Attack

14 Flesh Hounds


Heavy Support

Daemon Prince (+Iron Hide +Mark of Nurgle +Cloud +Noxious Touch)

Daemon Prince (+Flight +Iron Hide +Unholy Might +Mark of Khorne +Deathstrike)

Enjoy! :)

Wednesday, March 23, 2011

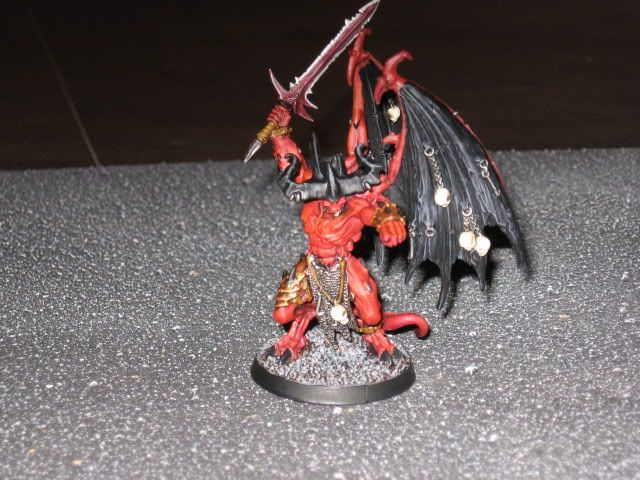
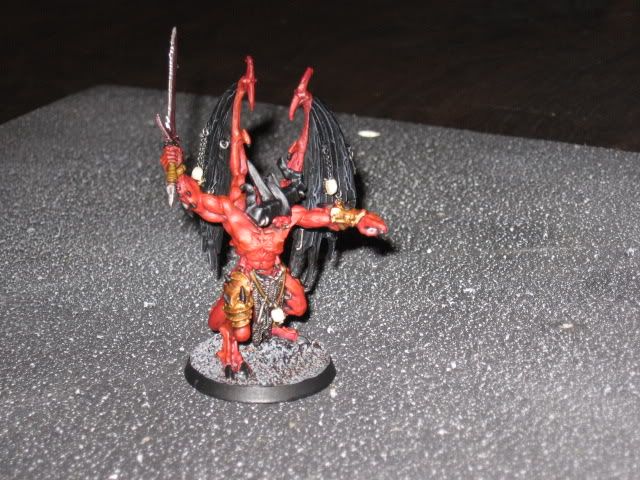
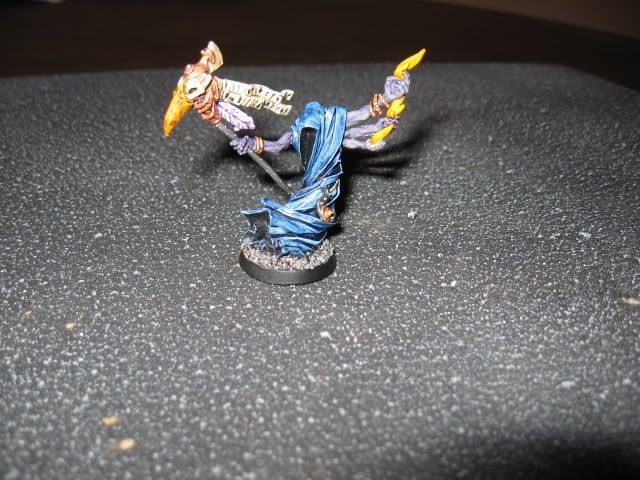
Daemons: Daemon Prince of Khorne


This week I bring you another finished addition to my growing Daemon army. I started working on this prince back last year at the initial Iron Painter that really started this army. I didn't have the time to commit to this great model that night, and chose to concentrate on the Nurgle Greater Daemon instead of this one. While an old and much smaller model then the current prince this is a really cool model for a metal classic. This model also gave me a chance to try out a scheme which will eventually make its way into my forgeworld monster greater daemon of khorne and possibly to the vraks khorne prince which I currently have also. The armor was a mix of dwarf bronze with green wash to give it a more brass look. One thing I liked about this model was the detail in the wings with all the skulls. We shall see how this prince handles on the battle field as my khorne forces continue to grow bigger and bigger!


Enjoy! :)

Wednesday, March 16, 2011

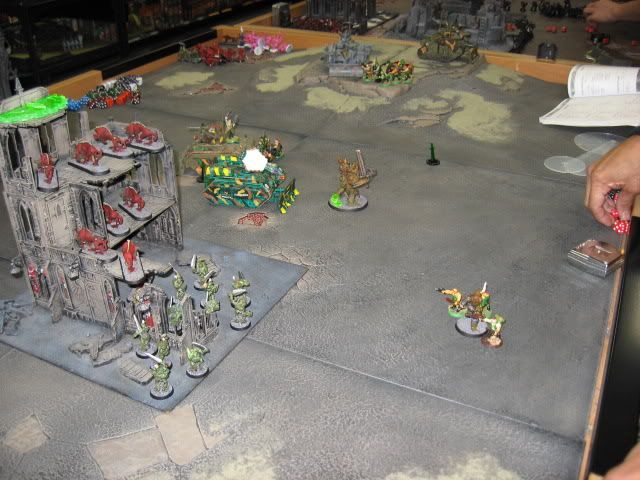
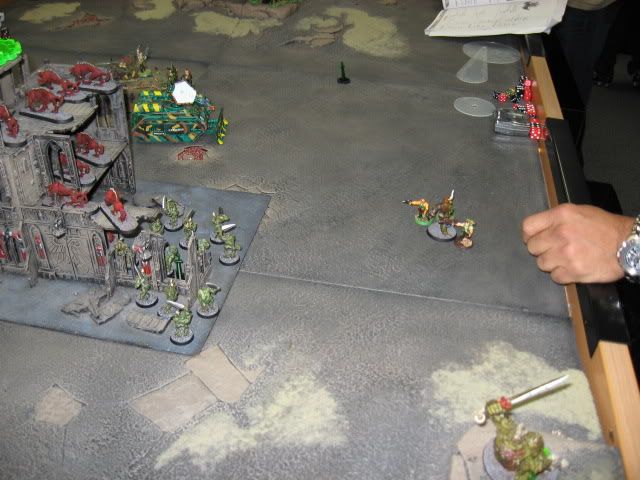
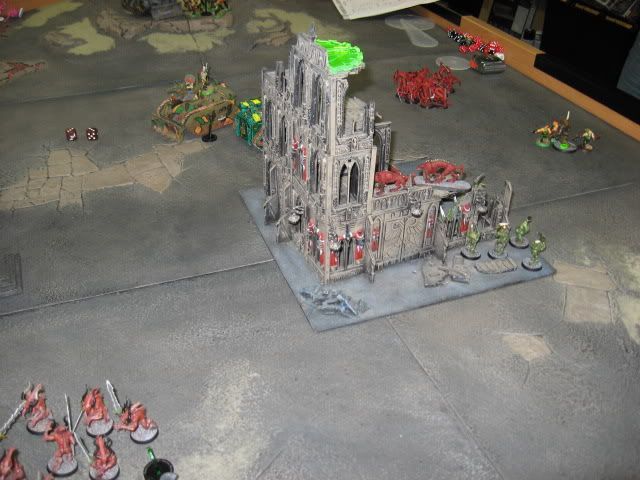
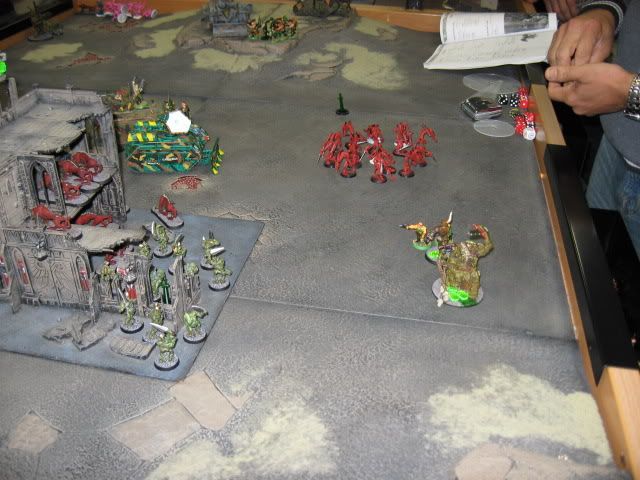
W6 Escalation League Battle Report: Daemons vs Space Marines

Week 6 continues my trip thru the world of 1500 point games. Well look who is back...SPACE MARINES! Imagine that, I can't seem to get away from the power armored nasties. Oh well, I guess I'll just have to lay down another daemon welcome. One thing I love about such leagues is the amount of diversity I see in marine armies at times. This will be my 3rd marine army I face yet they are all different. This time we welcome to the arena of combat the Howling Griffons! An off shoot of the Ultra Marines, this chapter has a bit of an underground following with 40K players. This time around we are playing one of the missions out of the Battle Missions 40K book, the Fighting Withdrawal mission will be our game of choice this time.......Lets take a look...

Points: 1500 Points Per Player
Mission: Fighting Withdrawal
Set Up: Fighting Withdrawal

The Armies:

Chaos Daemons-
1500 Points of daemons and I am slowly getting the army up to a point where they are even more effective and nastier with each game. This time around I bring in the big guys as a Greater Daemon of Nurgle and Nurgle Daemon Prince join the ranks. Meanwhile the other units already in the army get built up a bit more and get a few useful upgrades which will come in handy.

Space Marines-
The Scions of the Ultra Marines have come knocking to my arena of combat finally. The Howling Griffons are a long time 40K lore chapter with a very colorful paint scheme. My opponent has painted up some of his army real well, and is on his way to having a very cool looking army when its all done. He has also chosen to not use any characters in our battle, so this will be fun since I don't use characters in my escalation league games either. He has chosen to fill out his two HQ choices with a Librarian and a Captain and his command squad. The Command squad is fully loaded with a banner bearer, apothecary, champion, and vets, all rolling out in a rhino. His elite choices are a 5 man squad of Sternguard veteran marines in a razorback and a dread with autocannons and a storm bolter. His troop choices are a bit light, but they come out to two 5 man marine squads in razorbacks. Finally his fast attack is a 5 man squad of Vanguard assault veteran marines. All of his razorbacks are armed with twin linked plasma guns and lascannons, a very nasty combo. The entire package is a whole lot of armor and mobility that I am a bit worried about since my daemons are not built to crack armor for the most part.

Deployment and Terrain:

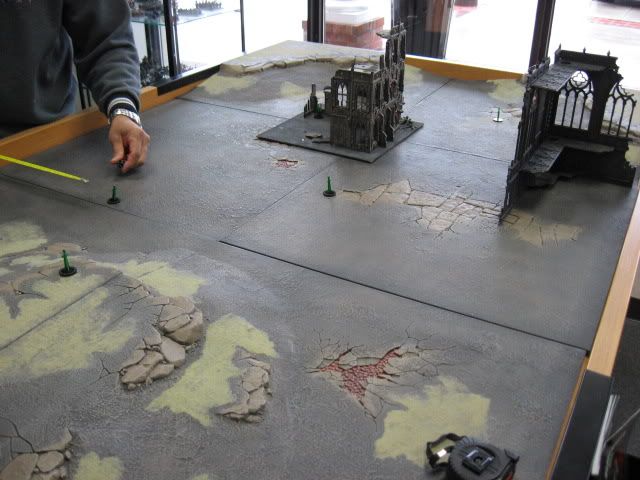
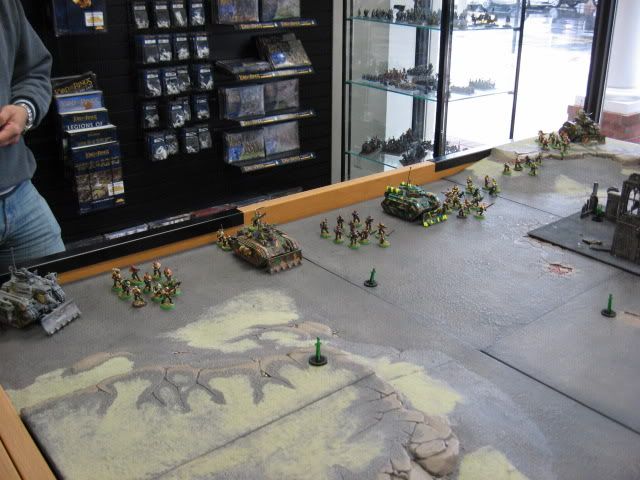
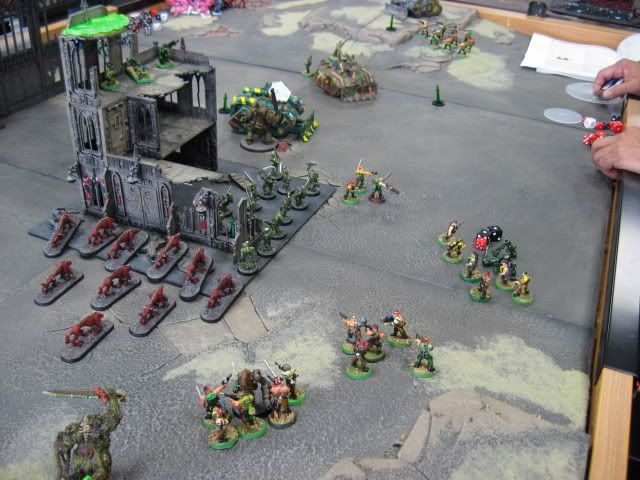
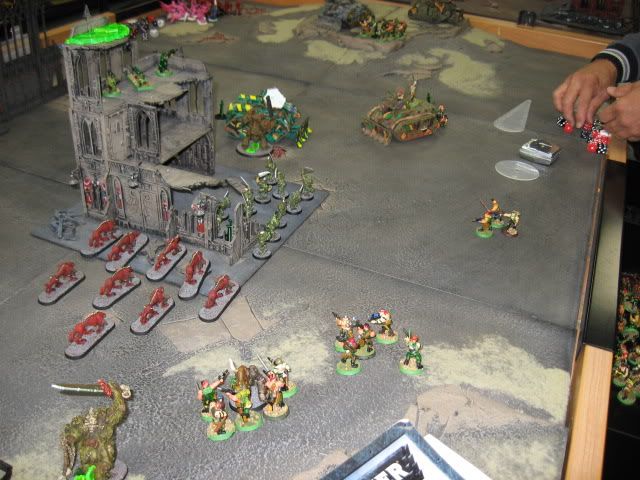
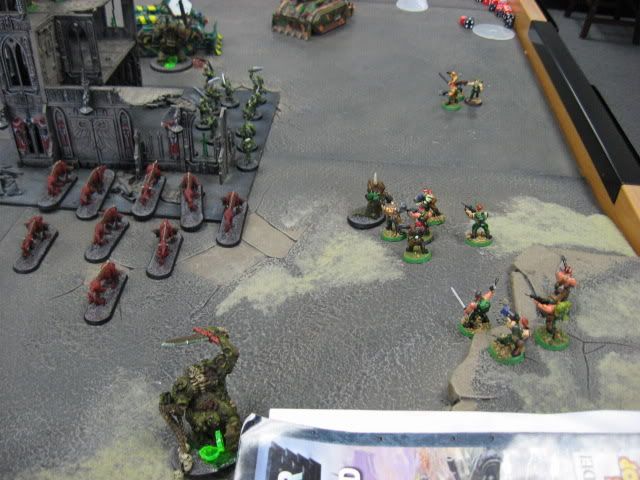
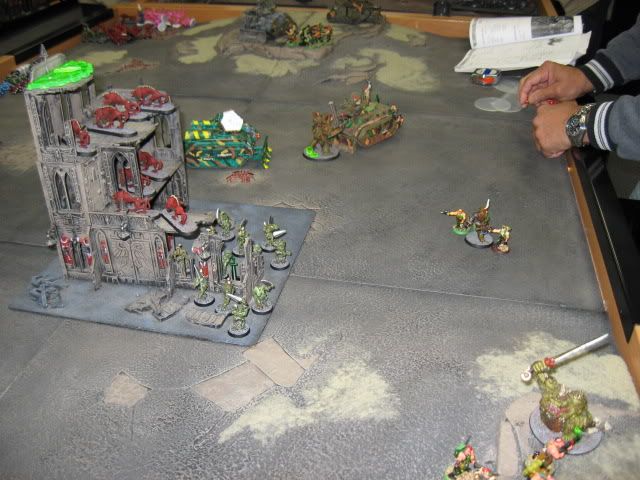
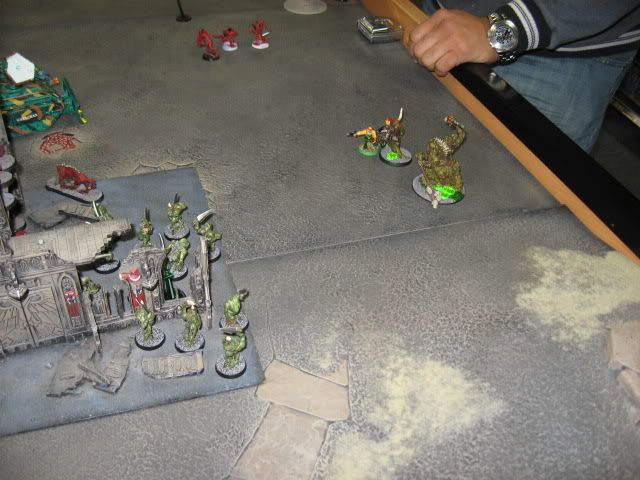
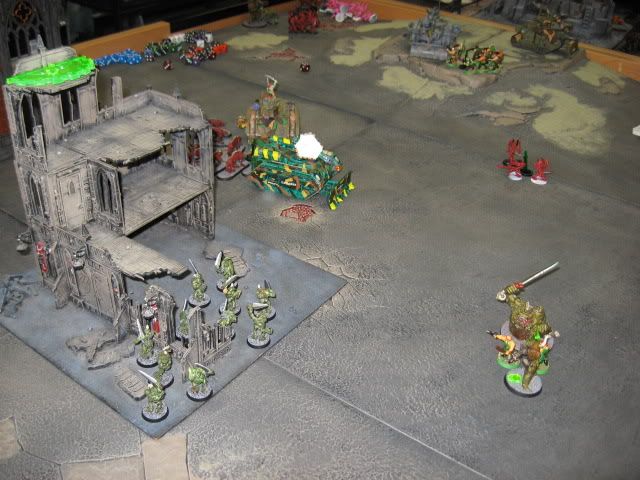
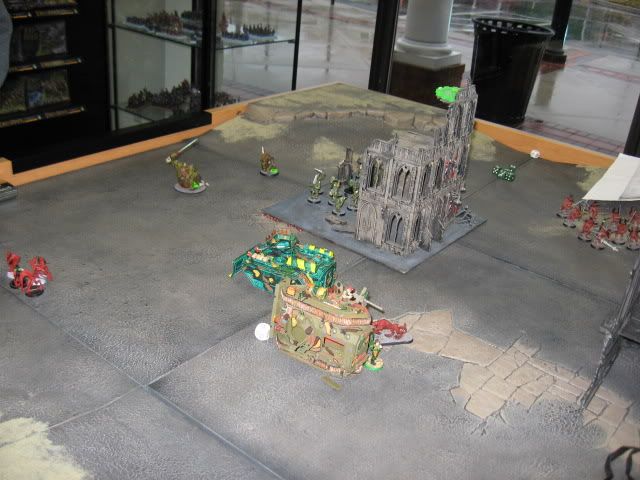
Being a special mission from the Battle Missions book, the terrain was set up by the store manager at the GW Shop for us, with 6 pieces of terrain on the table it was a bit crowded but a change for once since I'm used to playing on low terrain tables lately. The table was cut in half diagonally per the mission rules, and 3 objectives were set up, one on a table edge, one in the middle of the table, and one between these two objectives. We rolled off to see who would be attacker and defender, and I won the roll off. After reading the mission I chose to be defender this time, and set up was done. Under the mission rules the attacker does not set up anything, and comes onto the table edge from his half of the table on turn one. By being the defender I deep strike in and force him to come on from his table edge, making it harder for him to reach me on turn one, while giving me the ability to drop anywhere on the table thanks to demonic assault. While the mission states the defender may not put any units in reserve, I am daemons and the entire army is in reserve under its codex rules which always over rule mission rules. Finally the mission gives the defenders entire army the Hit & Run universal rule, which was a nasty bonus for me! I rolled to see how the gods were feeling today, the two heralds with units of Horrors and Plaguebearers for retinues, along with the 2 big guys were my choice units to drop since both heralds had icons to help deep strike. To the pleasure of the Gods, they were not on my side that day. Everything else which accounted for most of my Khorne strike force would be in first.


Turn 1

Space Marines- The Howling Griffons had no choice but to roll onto the table in force. With one troop choice each teaming up to either the Sternguard or the Command Squads. The Dread and Vanguard joined up with the command squad group and pushed forward.
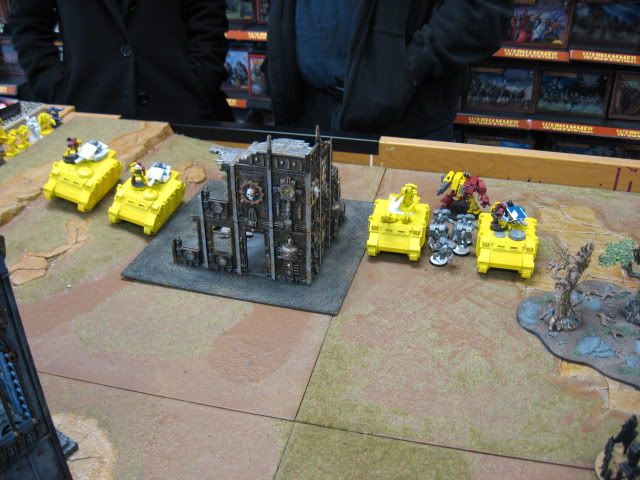


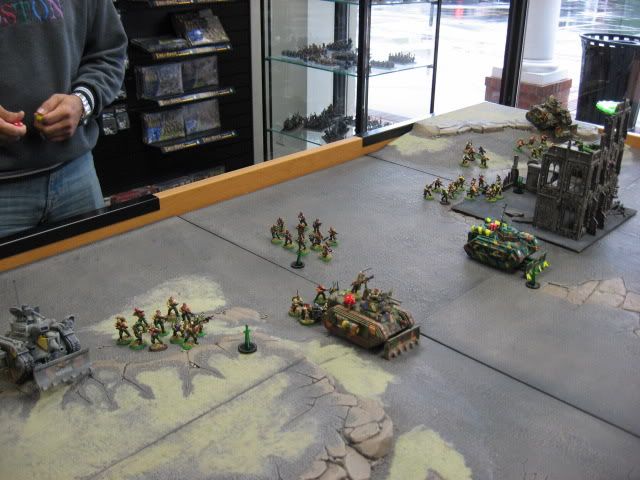
Daemons- Enter the Daemons! Since my chosen half was not allowed to enter this time, the forces of khorne make the drop in first. They are my heavy hitters when it comes to close combat so I want to hide them as much as I can while keeping them close to the marines for counter attack reasons. The hounds drop a bit off of their target but still come out ok, the smaller 10 man bloodletter unit falls on target behind a building which will give them cover saves, while the larger 16 man bloodletter squad was dropped near the middle objective. The smaller bloodletter unit has an icon so I wanted to protect them, while also holding the 2nd objective if possible. The larger bloodletter unit I placed out close to the marines for bait, to keep the marines occupied with them while the other bloodletter unit helps bring in the rest of the army. Finally the hounds were my mobile counter attack, with cavalry rules they are nasty chargers even if they are not power weapons they still throw a lot of dice on the table.
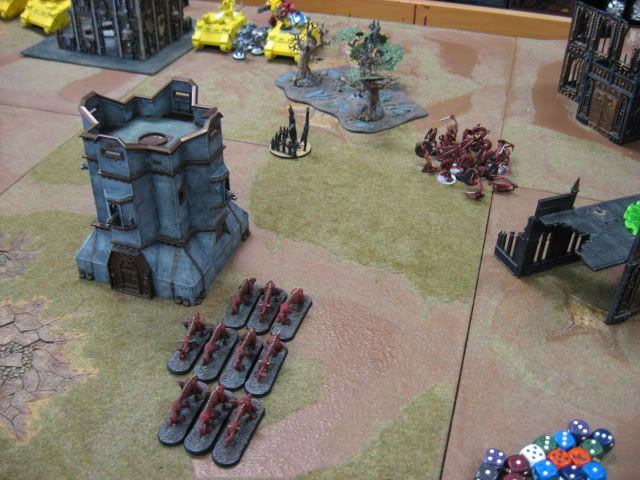
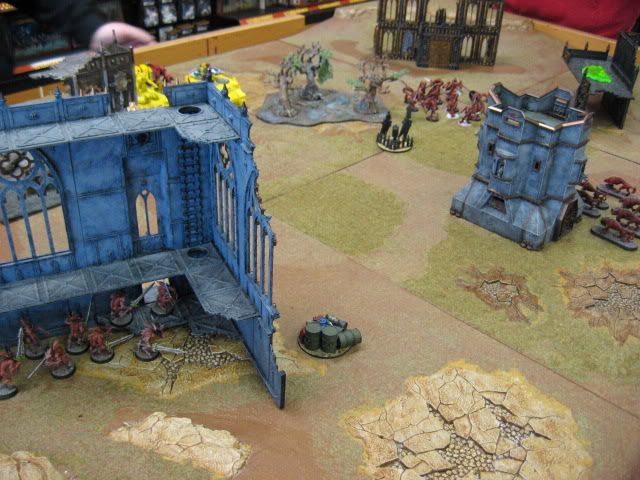


Turn 2

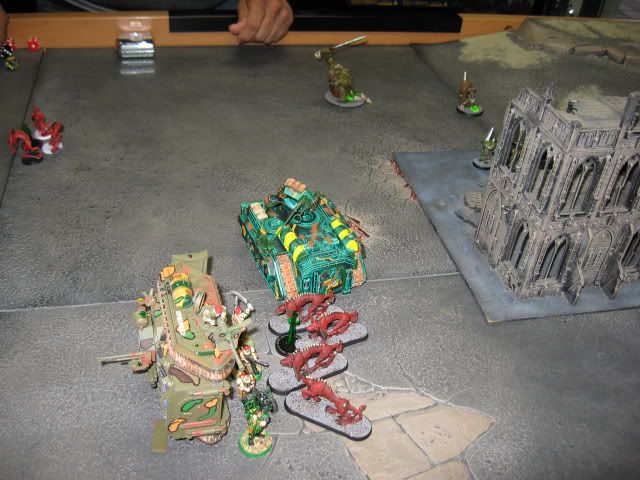
Space Marines- The Marines take a moment to check out the new enemy in the area. With the large number of khorne forces so close to the marines, they took a more aggressive stance on the larger bloodletter squad and took the bait I was counting on him to take. He detatched one troop squad to swoop in from a flank while the Vanguard came from the oppisite flank. The Sternguard also came out to play in their area but were out of range. The Vanguard took a shot at the daemons which was a bad choice since I pulled enough models to deny him the assault range for them. The other area of the marine force took shots at the smaller bloodletter unit and took down some of their number, and the razorback swooping in from the side took a shot at the flesh hounds taking some down as well.
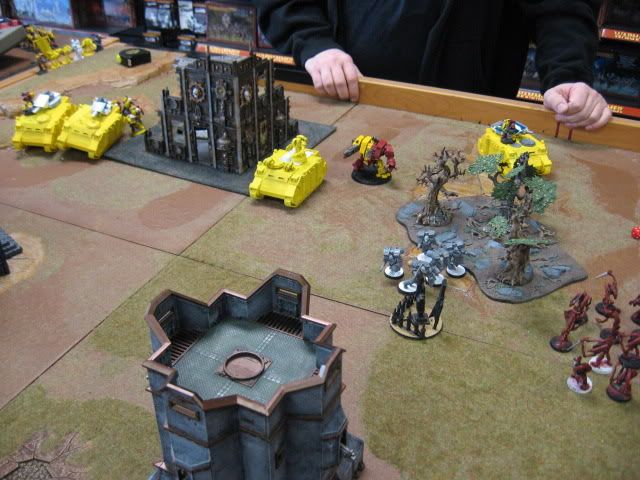


Daemons- Turn 2 begins with the horrors coming in from deep strike. I chose not to use the icon on the table and instead took a risk in trying to take down the sternguard with them by dropping behind enemy lines. BIG MISTAKE! The unit scattered into the sternguard and then they were destroyed thanks to mishap. Tzeentch has chosen to stay out of this battle with both the herald and the horrors now dead to me for the rest of the game. This didn't stop Khorne from getting his skulls today, as the bloodletters now able to move head for the vanguard squad. Meanwhile the hounds and the other bloodletter squad move out to counter the marine thrus from the flanks. Finally the center khorne unit charges into the vanguard causing a lot of damage, the resulting battle leaving one lone vanguard standing.
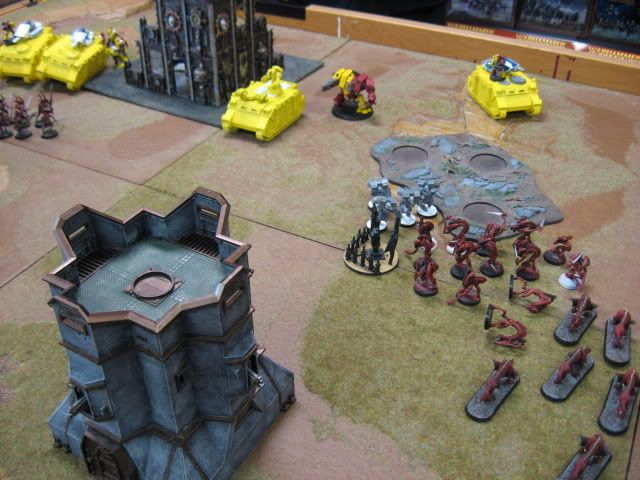
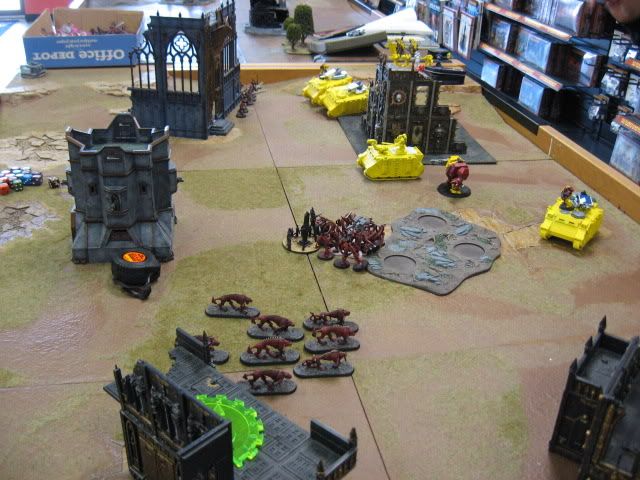


Turn 3

Space Marines- The marines charge into the battle! The Dread closes in to join the central combat, while the sternguard sweep in one flank trying to take down the smaller bloodletter unit, the same with the razorback in the other side while dropping his marines out to shoot. Casualties are high for the smaller bloodletter unit, but they do survive the shooting from the marines. Meanwhile the Dread charges into the meele in the middle, but does not do anything to the enemy mob, while the vanguard goes down for the count. The central close combat mess continues!
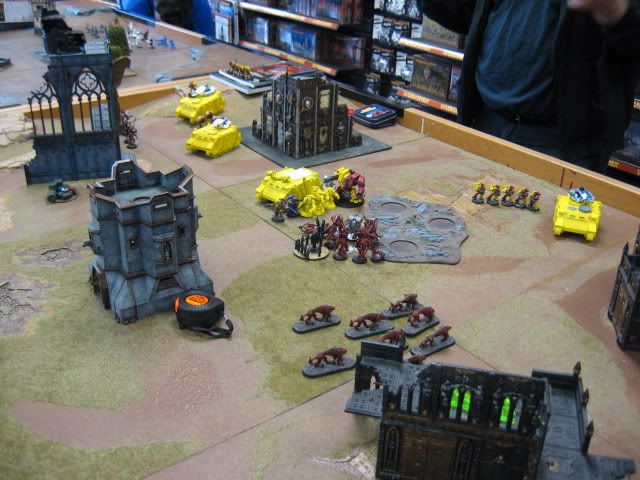
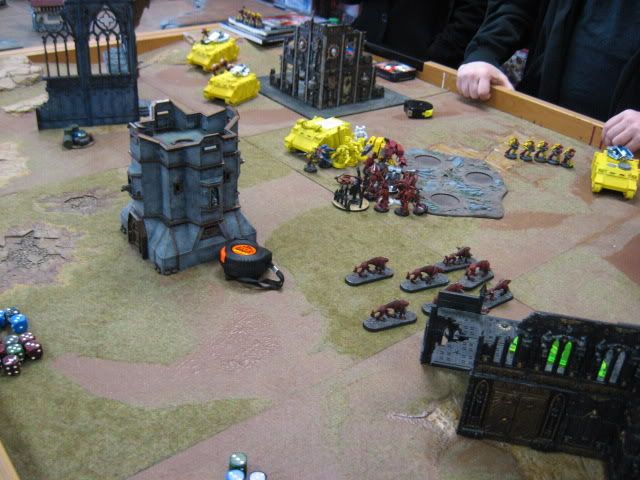
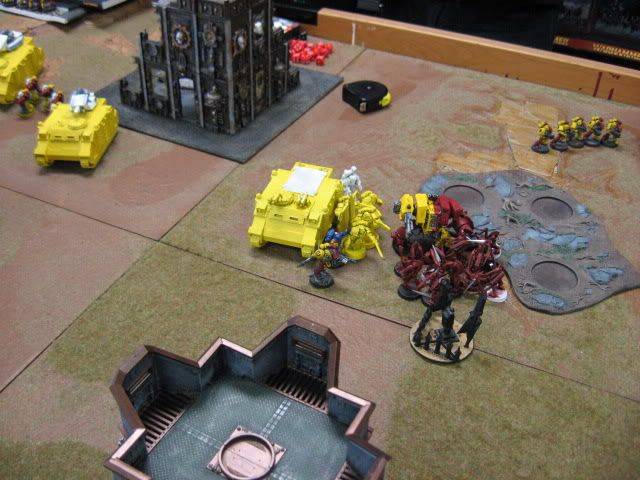


Daemons- Time to put in a call for reinforcements! Nurgle answers the call sending down a Daemon Prince and the Herald with his plaguebearers! Khorne gets a second wind as the hounds seek out the exposed marine squad and the bloodletters go after the sternguard. The flesh hounds fleet and assault the marine squad hard, causing all but one marine to die in the assault, with the last one making a run for the table edge with the hounds in hot persuit! On the other side the bloodletters thrash the sternguard to a pulp and collect the skulls for the skull throne today! In the center the dread does very little in killing bloodletters again, but the bloodletters take advantage of the hit and run rule and break the combat cycle. The arrival of nurgle means a second line of troops and heavy hitters is now ready to step in when khorne calls it a day.
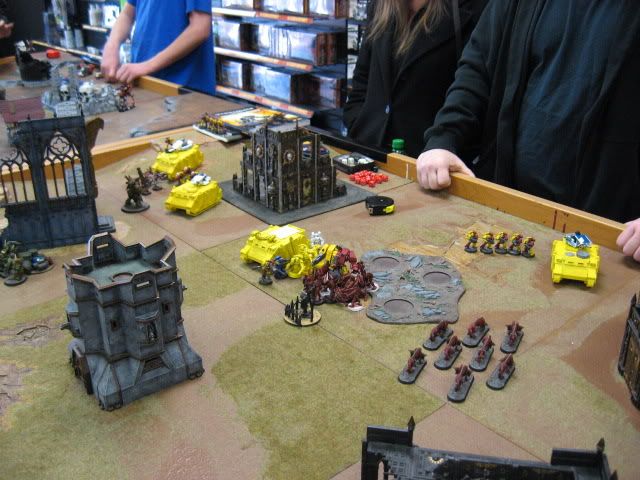

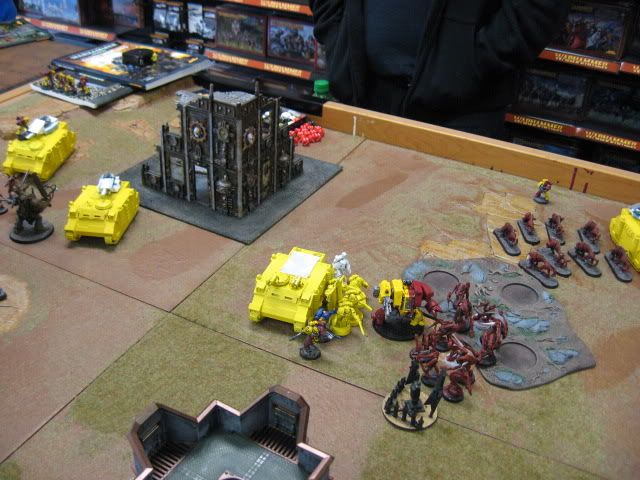


Turn 4

Space Marines- The marines need to turn this game around and this is the turn they need to do it in! The command squad must save the day! The razorbacks and rhinos move into position to better provide fire support. The lone marine from the squad attacked by the hounds runs off the table to fight another day. The command squad that had jumped out of a moving rhino last turn are free to move and attack this turn now. After a turn of some bad shooting the marines move in to assault. The central objective is once again the center of the action with the command squad and dread leading the charge into the bloodletter squad again. The attack is brutal and the bloodletter numbers are cut down by a good number, but khorne stays to fight another turn and claim more skulls. The marines take a heavy number of casualties for the assault as well.
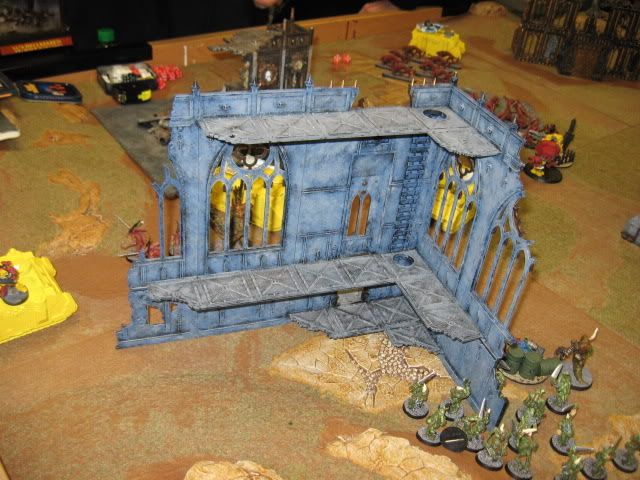
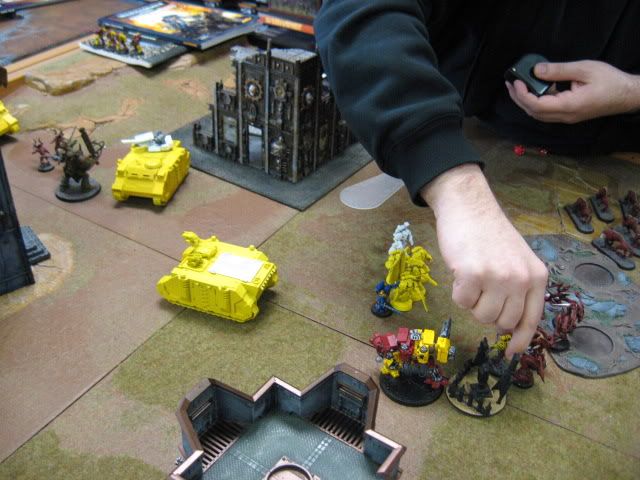
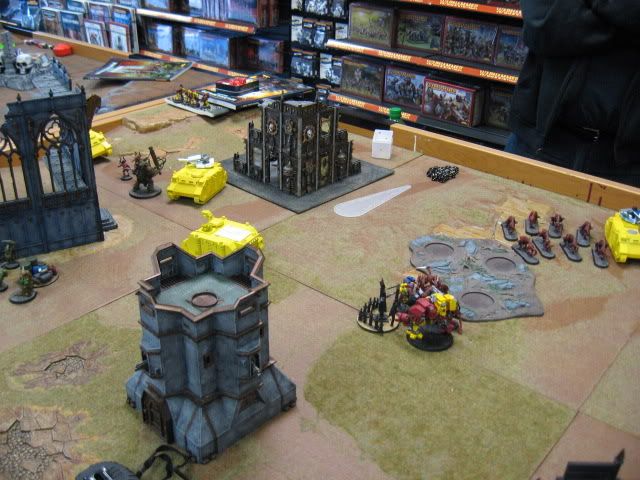


Daemons- The last actor of this drama arrives! The greater daemon of nurgle is on the scene, using the heralds icon to land the great daemon has his eye set on that dreadnought. Meanwhile the Daemon Prince is knocking around a razorback full of marines. The Plaguebearers are sent off the secure an open objective by the table edge with the herald following the greater daemon. Finally the hounds sweep around to help the bloodletters in the middle. The assaults are fast and furious! The prince is able to take out one of the weapons on the razorback. The hounds charge into the middle battle to help wound the captain while the bloodletters take out the librarian still in the fight.
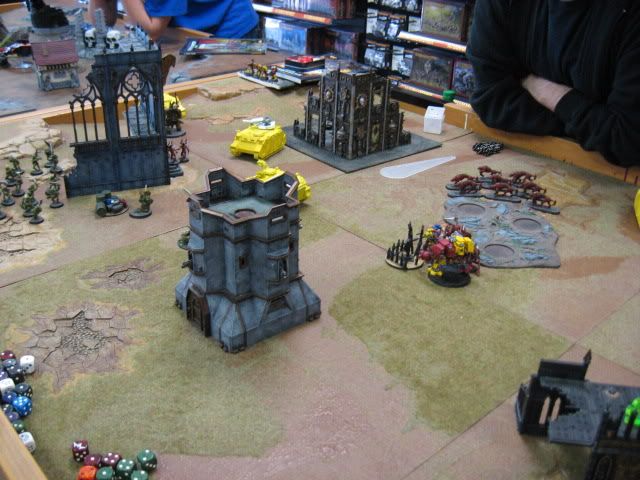
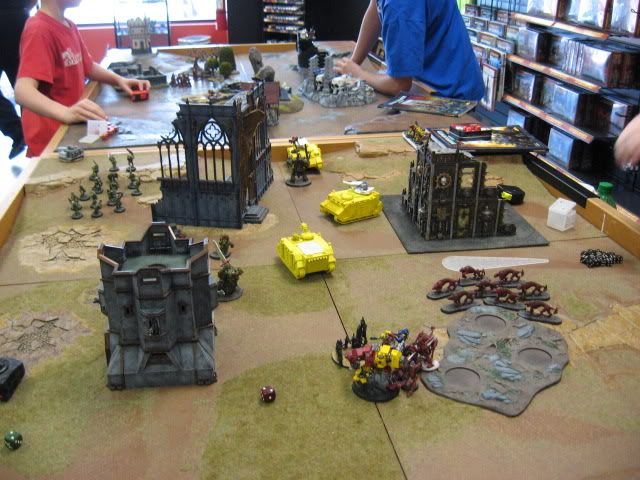
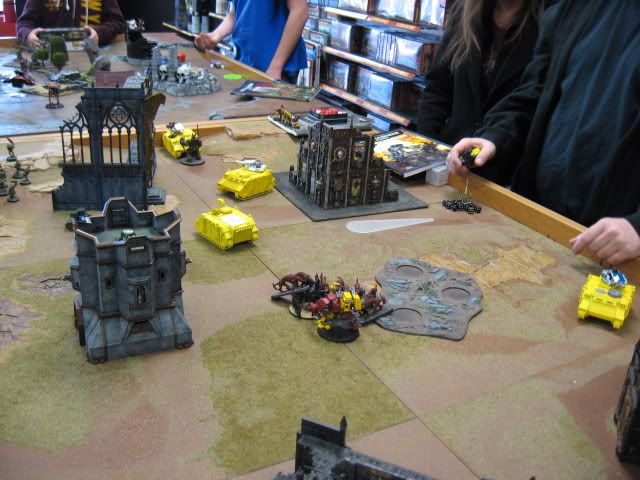


Turn 5

Space Marines- The captain stands alone holding off the hoards of chaos with his sidekick dread. The armor moves around and unloads on the prince assaulting the razorback. He takes a lot of fire from the other tanks and is wounded severly. The battle in the middle continues with the captain taking another wound but dishing out some pain too. The lone bloodletter is able to break off from the attack and prepare a counter charge in the bottom of the turn.
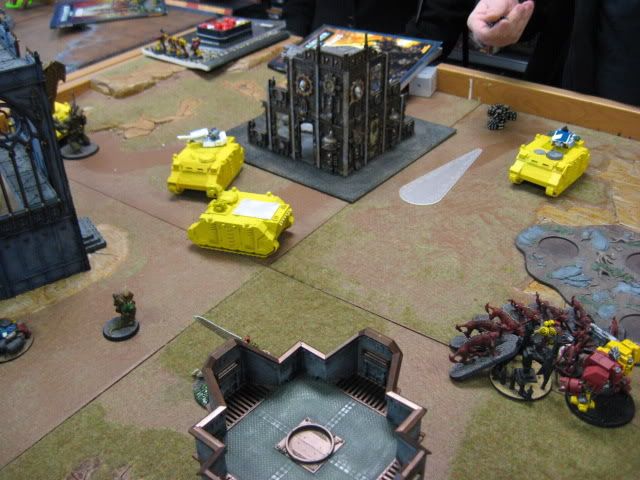
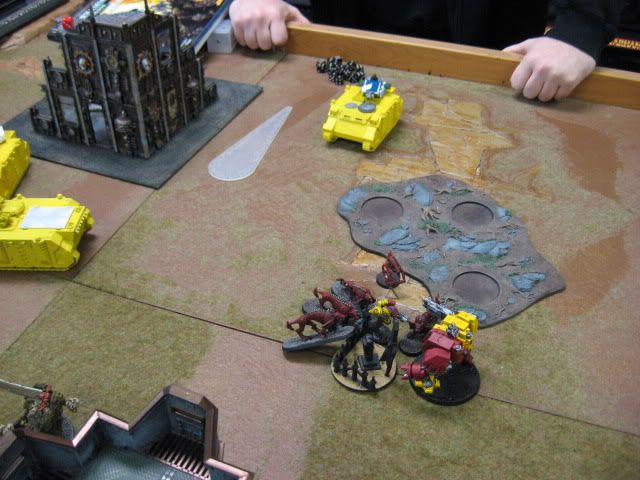


Daemons- Time to clean up and win this game! The Greater Daemon moves closer to the battle, while the plaguebearers secure one objective, and the herald and prince make for assaulting some tanks. The Greater Daemon joins the assault in the middle and smashes the dread into a wreck on his first assault. The lone bloodletter assaults back in and along with the hounds takes down the captain in combat. The Prince is able to shake the razorback while the herald fails to do anything. The tide has now turned and it is in our favor!
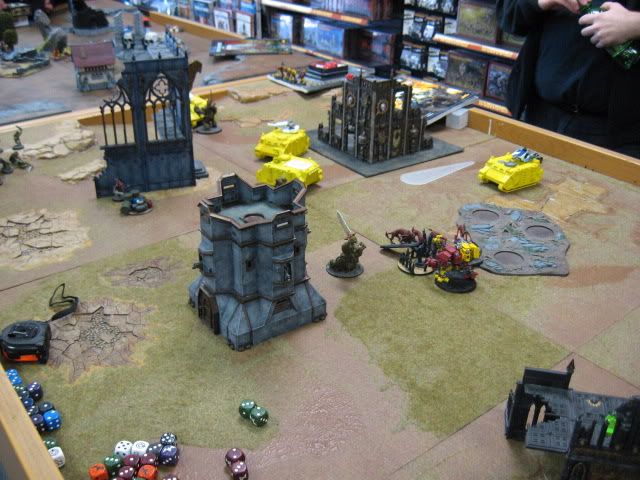
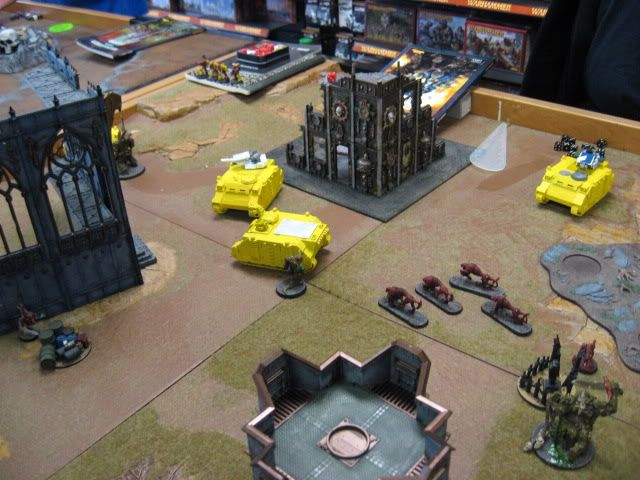


Turn 6

Space Marines- In an odd turn of fate for me turn 6 is to be had in this game. Most of the time my games are over at turn 5, but this game got an extra turn of carnage. The marines are out for blood now as the troops exit the razorback and the other tanks move in to help take down the prince who falls to marine shooting. The lone razorback close to the middle takes out the last bloodletter of the big unit and that objective is now free of troops of any kind holding it. There isn't much else the marines can do this turn.
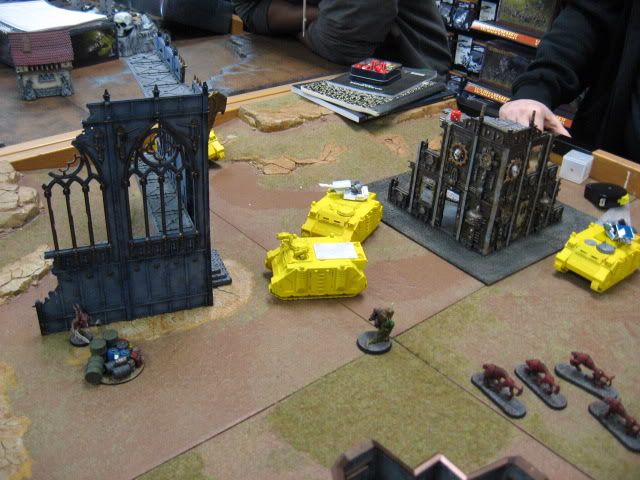


Daemons- The daemons have secured 2 objectives now, one by nurgle and one by khorne. The prince might be dead but the hounds and herald assault one more take one last time taking out its weapons and imobilizing it in the process. With this last assault the game ends in VICTORY!!!
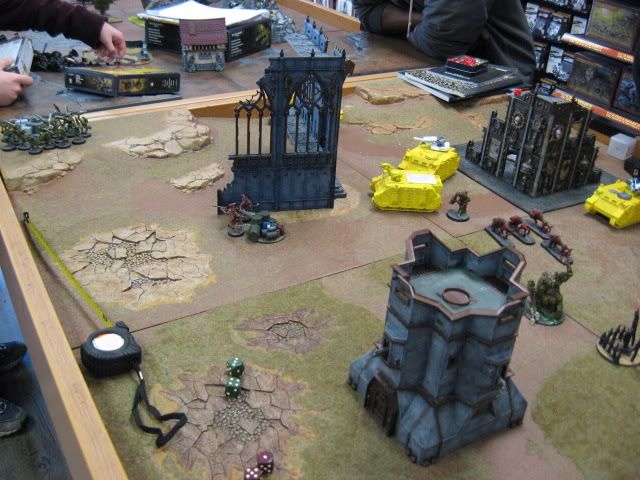
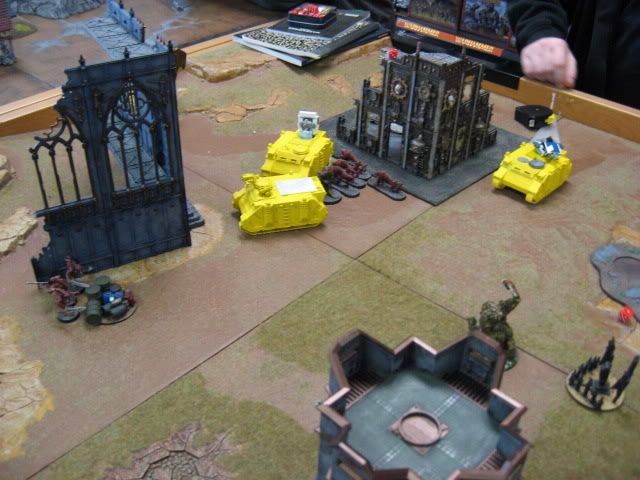


Final Score:
Dave/Chaos Daemons: 2 Objectives
Nathan/Space Marines: 0 Objectives

Winner: Chaos Daemons


Final Thoughts: The win now brings me up to 3-2 for the league and I am now in positive territory for once. The higher the points the nastier these daemons get. I've still to acutally consider using a character which I am trying to avoid. This game was a good one and one that could have gone wrong for me since my chosen units didn't get in first. The loss of Tzeentch from this battle played almost no part in the outcome which was good to see, since the loss was hard to take when it happend. My MVP this time has to be the 16 model khorne bloodletter unit in the middle. They played the role of bait well enough that they pulled a good chunk of the marine bodies to them, and still survived the carnage. The unit was worth every point I paid for them this time.

Enjoy! :)
Tuesday, March 15, 2011

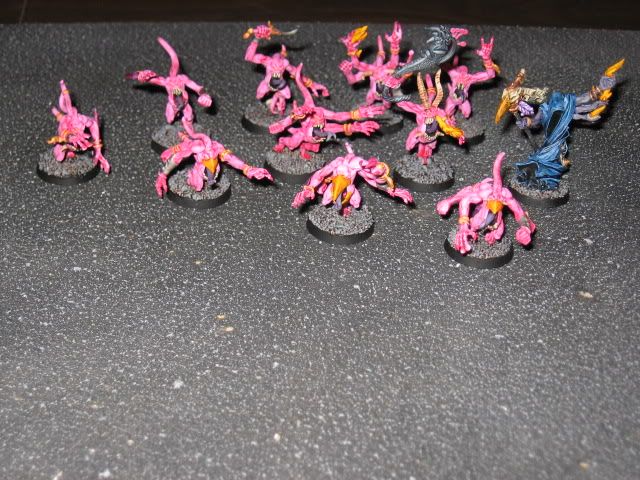
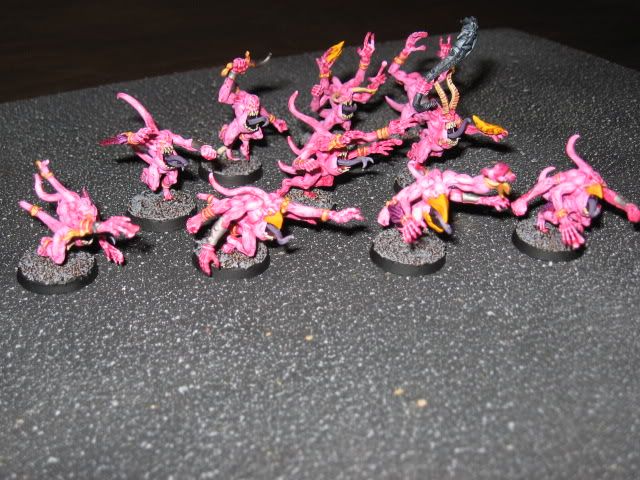
Daemons: Pink Horrors of Tzeentch and The Changeling


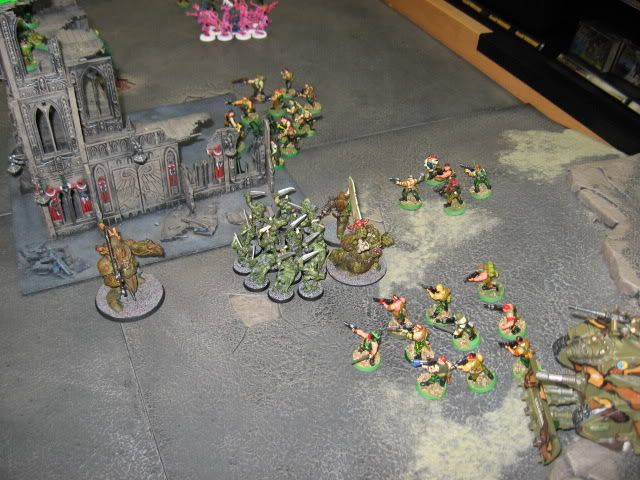
Well in keeping with the running theme here, I have finished a unit of Tzeentch Pink Horrors for my daemon army. I was never really interested in the metal versions of this unit, so when these cool new plastic ones came out last year I jumped on adding a unit to my growing army. The shooting ability was a boost to the range power of the army, since most of my army is made up of close combat khorne and durable nurgle units. In addition to the horrors I am also adding the Changeling model to the unit. While a cool upgrade, the model makes a great Herald of Tzeentch model when I need to field one. The abilities of the changeling are a lot of fun and can really throw some chaos into the enemy force when he can use his power. This is my first new complete unit since last year’s iron painter at the bunker where most of my already painted units were finished. So Tzeentch finally has a foothold in my army!


Pink Horrors on the bounce!


The Changeling also makes a great Herald of Tzeentch...

Enjoy! =)
Wednesday, March 9, 2011

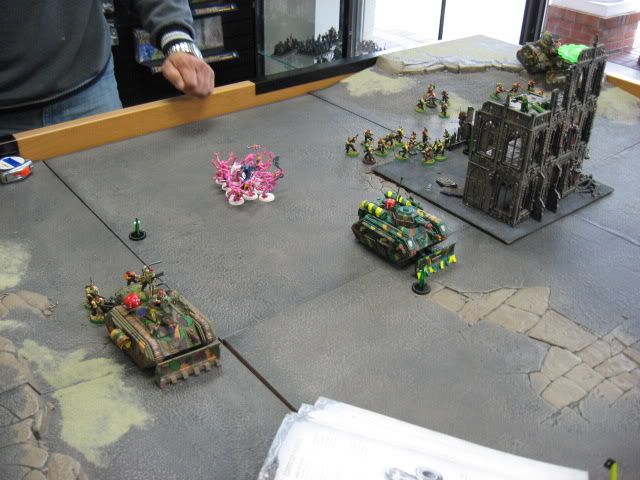
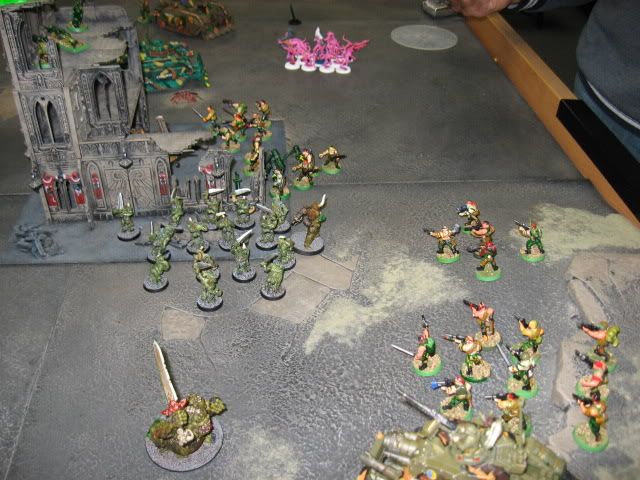
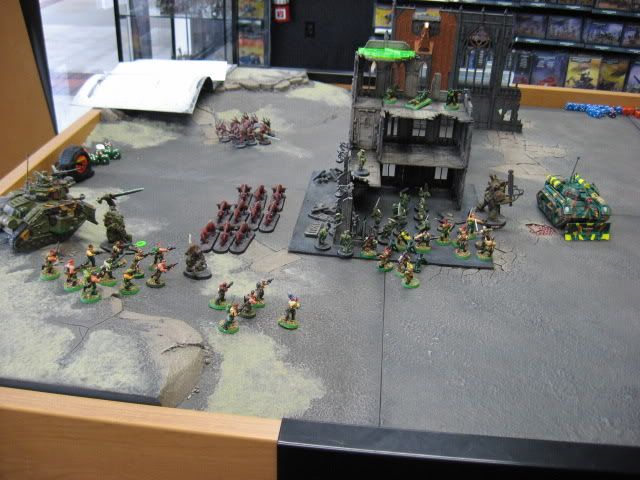
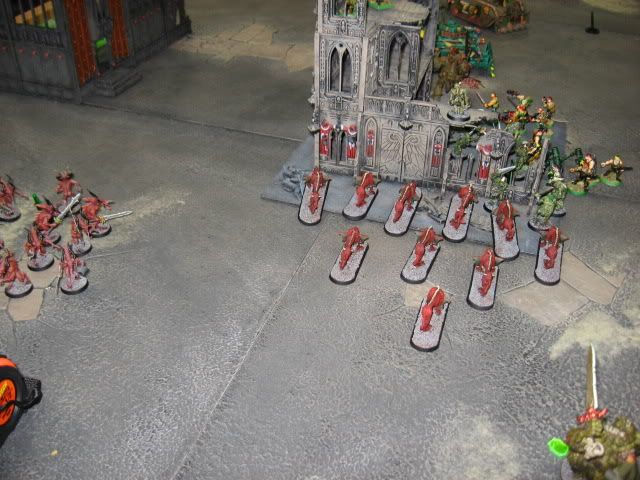
W5 Escalation League Battle Report: Daemons vs IG

Week 5 starts another points level for the league, with week 4 being left as an open week for make up games I took some time to work on painting my army a little more. Now to my surprise I am facing another army, this time the Imperial Guard come out to play. With another random mission scheduled from the main rulebook again, I once again am playing a loot counters battle with no less then a full 5 counters again, lots of terrain to take, but I have more points to build the army up for its mission this time.......Lets take a look...

Points: 1500 Points Per Player
Mission: Loot Counters (5)
Set Up: Pitched Battle

The Armies:

Chaos Daemons-
1500 Points of daemons and I am slowly getting the army up to a point where they are even more effective and nastier with each game. This time around I bring in the big guys as a Greater Daemon of Nurgle and Nurgle Daemon Prince join the ranks. Meanwhile the other units already in the army get built up a bit more and get a few useful upgrades which will come in handy.

Imperial Guard-
The pride of Catachan have left the jungle to come out and play with my daemons. Guard are not an unknown army to, since they are perhaps my #1 army choice of mine so I have an advantage of what they can do on the battlefield. With Straken leading his fellow Catachans into battle, this army is another special character enhanced force which will prove to be a challenge. At first I am seeing a lot of armor come out, with an Executioner, Demolisher, and Hellhound on the table that is a lot of firepower and high armor to deal with. I am glad I had the points for my 2 new monstrous creatures to join my force just in time!

Deployment and Terrain:

I allowed my opponent to roll for the number of terrain pieces this time since he rolled for deployment type. To my luck he rolled only 1 piece of terrain for each of us, another open battlefield, how lucky for me! The table was fairly empty with lots of open ground to move and shoot thru. Pitched battle was the deployment of choice this time, so lets see all that sweet guard armor on the table! A Hellhound, Executioner, and Demolisher rolled onto the table edge. Straken also rolls on in his own personal chimera command tank. Along with the armor a platoon of Catachans with special weapons squads, and mortar squad are deployed. A small unit of Rattlings also made a scout move onto the table into a near by building to snipe from. Finally a veteran squad will also deploy as a second troop choice for the army, the guard were ready to do battle.  I rolled to see how the gods were feeling tonight, the two heralds with units of Horrors and Plaguebearers for retinues,along with the 2 big guys were my choice units to drop since both heralds had icons to help deep strike. To the pleasure of the Gods, they were on my side that day. Everything else which accounted for most of my Khorne strike force would be in reserve.


Turn 1

Imperial Guard- The guard chose to go first, and I failed to grab the chance to go first. The guard make a mad dash for the loot counters near by. With both battle tanks covering the flanks the infantry moved out to take and hold the objectives on the table.


Daemons- Enter the Daemons! With the guard spread out so far my strategy this time was to attack one flank and roll up the army, while taking down as many of his troop choices as I could get my troops to assault. He low number of troops was an area I planned to exploit. So I dropped most of my force in the middle of the biggest concentration of infantry, I wasn't scared of getting stuck in with them, especially the nurgle troops. Meanwhile the Greater Daemon had a mission to break the tank on this flank and bust open the area to all kinds of chaos! The Prince was there for back up and to attack targets of opportunities. The only unit that didn' come down near the others was my Tzeentch squad that was out to hunt an enemy troops squad. After a turn of firing from the horrors that squad was wiped out, and the objective was free for the taking!


Turn 2

Imperial Guard- Turn two and the guard strike back! The Demolisher has to take down that Greater Daemon NOW! So it will unload everything into that monster causing 2 wounds on the daemon. Thanks to first rank, second rank orders the infantry squad unloads on the plaguebearers and take down a few of daemons in the fire fight. The Prince takes his share of fire but survives the storm to take his revenge on the guard later on. Finally the Tzeentch forces take the brunt of the guard wrath as the remaining squads unload on the unit, thanks to some crazy saves it take all that firepower to take down the squad and herald saving my other daemons from taking any further damage.


Daemons- Turn 2 brings in some of my reserve Khorne forces, as the Flesh Hounds drop thanks to the nurgle herald, meanwhile a squad on Bloodletters drop near a far off objective and hold the line there. The khorne forces take this time to spread out and prepare for the next turn to assault. With the turn on my nurgle forces rush into attack moving out to attack various forces. The Greater Daemon turns on the demolisher that didn't move this turn, blowing up the tank in the process, the resulting explosion taking down some of the guard beside the tank. The nurgle herald broke off and assaulted the squad next to the tank with the explosion helping to cut down the numbers of the guard squad for close combat. The results caused the battle to end in a draw. Meanwhile the plaguebearers rush into the building and launch and assault on a guard heavy weapons squad and special weapons squad. The resulting battle ends with both guard squads running for their lives from the demonic assault and the nurgle infantry taking another objective. Finally the Daemon Prince runs thru the building and comes out on the other side to assault the Hellhound, smashing it as well since it didn't move this turn either. Two tanks down the guard took a heavy hit this turn, and I took 2 objectives in the process!


Turn 3

Imperial Guard- Straken Strikes back! This turn will see the guard leader jump into the action, moving to support the few guard units still fighting on the flank he rolls into the fray to rally his forces. The heavy weapons squad runs off the table, but the special weapons squad is able to rally thanks to the Get Back In The Fight order from Straken. Meanwhile the main objective of the guard firepower this time is the daemon prince, taking fire from the opposite flank where the last russ tank is waiting and holding the line. Taking some wounds in the process the prince makes it thru the fire. Meanwhile the nurgle herald wins his combat with the infantry squad but he lets them get away. The unit makes a mad dash for the table edge.


Daemons- The tide is turning in the daemons favor now. The last unit of Bloodletters chose to stay out of the fight for another turn. Meanwhile the other units rush to attack, the greater daemon turns on the platoon command squad assaulting the squad and make quick work of the squad, then it turns to yell BOO! at the retreating infantry squad. The herald makes dash for the rallied special weapons squad, catching them in close combat but resulting in a draw. The flesh hounds climb the building to take care of those pesky rattlings. The plaguebearers and bloodletters stay where they are and hold the objectives. Finally the prince makes a mad dash for the Strakenmobile, resulting in only shaking the tank. The turn helped me clean up my flank and establish my battle lines for sure now.


Turn 4

Imperial Guard- BOO! See you later troopers, as the infantry squad that had fought the herald ran off the table to fight another day. Meanwhile the Strakenmobile rolled away from the prince who was now front and center to take everything shooting from the guards last few units. BOOM! BANG! FLASH! The prince is sent packing home back to the warp thanks to some good guard shooting. The nurgle herald continues to hold the special weapons squad at bay as the guard win this round but the herald sticks around for more combat.


Daemons- Reinforcements time! I was a bit ballsy with this unit since I just about have the game. I chose to drop a 16 man bloodletter squad in an open area in front of the guard lines, to take an open objective, I figured the guard couldn't blast enough of the bloodletters. Meanwhile the greater daemon moved to support its little brother herald dealing with the guard squad. The flesh hounds begin making their way out of the building to get ready for another strike.


Turn 5

Imperial Guard- FIRE!! Was the word of the day as the guard turned every weapon it still had on the newly arrived bloodletters. After tons of guard weapons unloading only 3 bloodletters had survived the onslaught. Meanwhile the herald finally cause a wound on the squad it was locked with, but the unit still holds and passes its leadership.


Daemons- Time to clean up and take the last of the objectives. The greater daemon finally makes the close combat near by and wrecks the guardsmen in the process. The damaged bloodletter squad makes a dash for the open objective and take it. Finally the flesh hounds catch the Strakenmobile and blow it up in the close combat rush, causing the hounds to take a few losses of their own, but Straken is now walking home and he also took a few casualties in the explosion! At the end of the turn I let my opponent roll to see if another turn would needed and he rolled a 1, which meant the battle was done and I claimed victory once more! WOO HOO!!! With 3 counters being held by my troops versus his 1 held by the veterans while one was contested between Straken and the Flesh Hounds, the win was mine!


Final Score:
Dave/Chaos Daemons: 3 Loot Counters
Felix/Imperial Guard: 1 Loot Counter

Winner: Chaos Daemons


Final Thoughts: Another great game in my ongoing Daemon education. As the points climb my army is becoming a meaner force to face down. Guard armor was not as effective this time and I got lucky I caught a lot of it stationary. I think the choice of dropping my initial force into the middle of his biggest concentration of troops was the wise choice. Once I got into close combat the guardsmen ran for the hills and the entire flank folded on its self. It's hard to chose an MVP this time from my army, so I'm going with the whole Nurgle Force, they took it to the enemy very quick and nasty for once. Although I do have to give the horrors props since they took the brunt of the fire for the first turn which was crucial to saving the other units in the army at the time. I still have one more game in this points range, we shall see what new surprise awaits next time!

Enjoy! :)